


Xage XPAM replaces legacy PAM with agentless, zero trust privileged access management, built for IT, OT, and cloud across the whole enterprise and every asset. Day-one protection with no single point of failure.
Extended Privileged Access Management
Legacy PAM Solutions Are Failing
According to Omdia, 30% of organizations experienced misuse of a privileged account via stolen credentials.
Introducing Xage XPAM

Better Total Cost of Ownership
Xage protects more assets and more account types than legacy PAM, without the complexity, agent overhead, or multi-year deployment timeline that drives up total cost of ownership.

Eliminate Complexity
Deploy in as little as one day. Xage overlays your existing infrastructure without agents, network changes, or rip-and-replace.

Resilient Mesh Architecture That Eliminates Single Points of Failure
Xage’s distributed mesh architecture means no central vault to compromise. Nodes validate each other, keeping credentials and policies secure even in air-gapped or offline environments.
Xage Extended Privileged Access Management (XPAM)
Xage XPAM (Extended Privileged Access Management) is an agentless, Zero Trust privileged access management solution that secures human, machine, and AI identities, as well as users, devices, applications, and OT assets across IT, OT, cloud, edge, and AI environments from a single platform.
This demonstration showcases Xage Extended Privileged Access Management (XPAM), a Zero Trust privileged access management solution designed for operational technology (OT), industrial environments, and critical infrastructure. The video covers privileged account discovery, remote privileged access, just-in-time access workflows, credential management, and Zero Trust enforcement for PAM deployments.
Read the Transcript
Xage Extended Privileged Access Management, or XPAM for short, redefines what PAM should deliver for the modern enterprise.
Unlike traditional PAM, Xage XPAM is simple, delivering immediate protection from day one and providing comprehensive security across every identity, account, and asset in your enterprise.
It offers comprehensive privileged account discovery and onboarding, password management, and a quantum proof, distributed secrets vault without any cloud dependency.
Here’s how it works. The Xage Fabric protects all your assets and provides secure privileged access to all your assets from day one without discovering any privileged accounts, simply by creating Zero Trust access policies between your enterprise users and assets.
On day two, XPAM allows you to discover and manage all of your privileged accounts and allows you to access your privileged systems remotely or locally using those privileged accounts without the need for any agent.
Here’s the list of all of my discovered accounts. My assets are listed under Devices. We have three types of accounts: standard, privileged, and reconcile.
With account security policies, you can define and apply tailored password rules to specific assets. This ensures security while accommodating systems with limitations, like legacy assets that may not support special characters or specific password lengths.
All of the columns here are filterable to make searching for anything a breeze.
Let me show you how to rediscover the accounts for this Dell Ubuntu 321 Linux machine using the filters to bring this up.
I see I only have two user accounts here. I know I have more user accounts on this machine and I want to discover them, so how do I do that?
To do so, I’m going to use something called an account discovery workflow.
For context, Xage has a powerful feature called Workflows, which comes in two types: Account Discovery and Password Management.
Workflows are essential for automating account onboarding and ongoing password management. The Account Discovery workflow identifies and imports accounts automatically or on demand, while the Password Management workflow handles continuous password rotation and updates, keeping these processes separate for better manageability.
To support these workflows, we use plugins. Given the wide variety of devices and protocols, plugins allow us to quickly expand support for a variety of assets.
A plugin is a packaged set of scripts, like Ansible or Python, that enables the system to interact with a device for tasks such as account discovery or password rotation.
They also allow for fine grained control, such as discovering only specific accounts based on attributes like group membership.
The best part is these plugins can be developed and deployed independently, so customers get new functionality without needing a full product upgrade.
Because I’m doing account discovery, I’m going to filter on it and select the one that applies to my device, which I can see from the Name and Devices columns here.
As you can see, this plugin includes customizable fields. In this case, it imported only the users from the sudo group, which are the two accounts we saw earlier.
While it’s possible to import all accounts, doing so could clutter the system. Instead, I’ll extend its discovery by selectively adding accounts from the general users group on the same machine.
Finally, I click Discover and watch the magic.
All of the user accounts are now here. These are part of the general users and sudo groups.
With all of the accounts discovered, I’m now going to show you how I can securely connect to this machine using this privileged account.
First, I will set the account to be privileged by selecting this discovered account and clicking Change Account Type.
Since this account was just discovered, I’ll need to change this password before storing it securely. I’ll do this by rotating the password, which is managed through the Password Management workflow in Xage. This ensures the account is fully controlled and compliant with our security policies.
I can choose to set a new password or generate a random password based on my account security policy.
Lastly, I’ll need to add this user to the account group, which my IT admin, Scott, is a part of. He will be responsible for managing all privileged accounts and can connect to this device with one of the privileged accounts.
Now I’m all set. Let’s see this in action.
I’m going to sign in as Scott into the Xage Fabric. Notice the left panel now shows both devices and accounts, demonstrating Xage’s flexibility in managing them independently.
To access the Dell Ubuntu device, Scott simply clicks Launch.
This will let him into that machine as that specific privileged user account.
Now, say Scott finishes his work. He can disconnect by closing out of this tab.
If someone needs extended access to this account, Xage’s Account Checkout feature rotates the password and restricts access to that user for a specified time, preventing others, like Scott, from using it.
Once I click Checkout, the account is exclusively checked out to me.
Scott can’t launch the SSH session until the account is available again unless I check it back in like this.
Now the account is accessible to others with the necessary permissions.
Xage provides a simpler, more effective approach to PAM that won’t eat up your entire cybersecurity budget.
The addition of PAM to today’s Xage portfolio offers you flexibility, allowing you to implement a modern approach to PAM today and grow your security and access with Xage in the future.
PAM for IT
PAM for IT protects privileged access to enterprise systems, applications, cloud resources, and administrative accounts through least-privilege controls, credential security, and session governance.
Xage XPAM simplifies deployment and accelerates time-to-value with an agentless, Zero Trust architecture that delivers secure privileged access without network changes, VPNs, or complex integrations.
PAM for OT
PAM for OT protects OT privileged access by securing connections to industrial control systems, operational technology assets, and critical infrastructure environments while maintaining operational continuity.
Xage XPAM extends Zero Trust access controls to legacy and modern OT assets alike through an agentless architecture that delivers secure privileged access without endpoint software, network changes, or always-on connectivity, making it ideal for PAM for critical infrastructure environments.
PAM for AI Agents
PAM for AI Agents governs the permissions, credentials, and actions of autonomous AI agents interacting with enterprise systems, data, and workflows through policy-based access controls and credential protection.
Xage XPAM applies the same Zero Trust policies used for human and machine identities to AI agents, delivering secure privileged access with centralized governance, full auditability, and consistent policy enforcement.
Todd Thiemann, Senior Analyst
Enterprise Strategy Group (ESG)

SOLUTION SHOWCASE

PAM That Won’t Eat Your Whole Budget
Xage’s unique architecture provides better security that gives protection starting on day one and protects more: privileged accounts, regular user access (and other identities), and everything in between.
- Protects assets, devices, and environments like OT that aren’t covered by legacy PAM
- Highly responsive customer support team
- Saves money by being easier to use and manage

A PAM Approach That Flips the Script
Most PAM requires complex setup (identifying privileged accounts and defining policies) before protection starts. Xage immediately acts as a layer between users and what they’re accessing.
- You don’t have to wait on the endless cycles of account discovery and management to see real protection
- A single solution that works across on-premises and cloud
- Comprehensive PAM, MFA, SSO, and session recording & management

Innovative Architecture Improves Security and Is Easier to Use
Xage has a unique and modern resilient architecture that enables it to provide security that’s both easier to use and harder for adversaries to compromise.
- Control of credentials and policy enforcement in Xage is decentralized, creating stronger security posture
- A more modern and resilient architecture means better protection of all credentials
- A quantum-proof credential vault
Xage Fabric holds IEC 62443-4-2 certification, independently validating its security architecture for industrial and OT environments.
Zero Trust PAM
Xage XPAM helps organizations meet the privileged access requirements of regulated industries through least privilege, MFA, privileged session monitoring, and identity-based access controls, supporting NERC CIP PAM requirements and DoD Zero Trust PAM initiatives across distributed environments, including SP 800-53, IEC 62443, NERC CIP, NIS2, and the DoD Zero Trust Strategy.
This whitepaper explores how Xage Extended Privileged Access Management (XPAM) delivers a security-first approach to privileged access, outperforming traditional PAM with broader protection, advanced capabilities, and measurable business benefits.
Download Datasheet

What Makes Xage XPAM Different?
Fastest time-to-value in PAM
Xage allows customers to realize the full value of PAM rapidly across their entire enterprise and get more value for their money.

Protection from day one
Xage immediately creates a layer between users and assets, securing access. You don’t have to wait to discover every privileged account and define every policy before your environment is protected.
No single point of security failure
Control of credentials and policy enforcement in Xage is decentralized and extremely secure. Nodes check in with each other and use consensus to validate the authenticity of the request. Legacy PAM has a central vault and central policy enforcement which, if compromised, is game over.
Built for multiple self-managed sites
Deploying Xage across multiple self-managed sites and even hybrid cloud is fast and easy since each node automatically inherits policy, user, and credential data from other nodes. With legacy PAM you have to either connect everything to the cloud or run completely separate deployments that you have to manage individually.

Secure zones for sensitive resources
Xage allows you to create deeper layers of higher security. It provides session termination between layers with additional validation using multi-layer MFA. So you can protect and isolate secure datacenters or sensitive resources like vaults, databases, or critical OT assets from less-secure or internet-connected infrastructure.

Full functionality even when offline
Xage still works when offline.
At-a-Glance Comparison
Criteria
Xage XPAM
CyberArk
Delinea
BeyondTrust
Core architecture
Distributed fabric (Xage Fabric); no central vault
Centralized, vault-based (Digital Vault)
Centralized, vault-based (Secret Server)
Centralized, vault-based (Password Safe)
Core components for full capability
2 (Manager + Nodes)
7+ components
Web/app + SQL, more at scale
5+ components
Fully self-hosted, no cloud dependency
Yes, incl. remote access & ZTNA
Core PASM yes; newer modules SaaS-only
On-prem supported; platform spans SaaS modules
On-prem/appliance supported; SaaS elements need internet
Native OT/ICS/SCADA support
Yes, incl. Purdue Model alignment
Not purpose-built for OT
Not purpose-built for OT
Not purpose-built for OT
Zero Trust Remote Access
Native, included
Separate SaaS module
Separate product (PRA)
Separate product line (PRA)
Typical time to initial protection
Hours to about a day
Weeks to months (multi-component)
Weeks to months (multi-component)
Weeks to months (multi-component)
Offline / disconnected-site operation
Yes, local enforcement continues
Limited for SaaS elements
Limited for SaaS elements
Limited for SaaS elements
Licensing model
User-based, unlimited assets, one tier
User + component/module based
Tiered editions + user packs
User + component based
Multi-user session collaboration
Supported natively
Limited
Limited
Limited
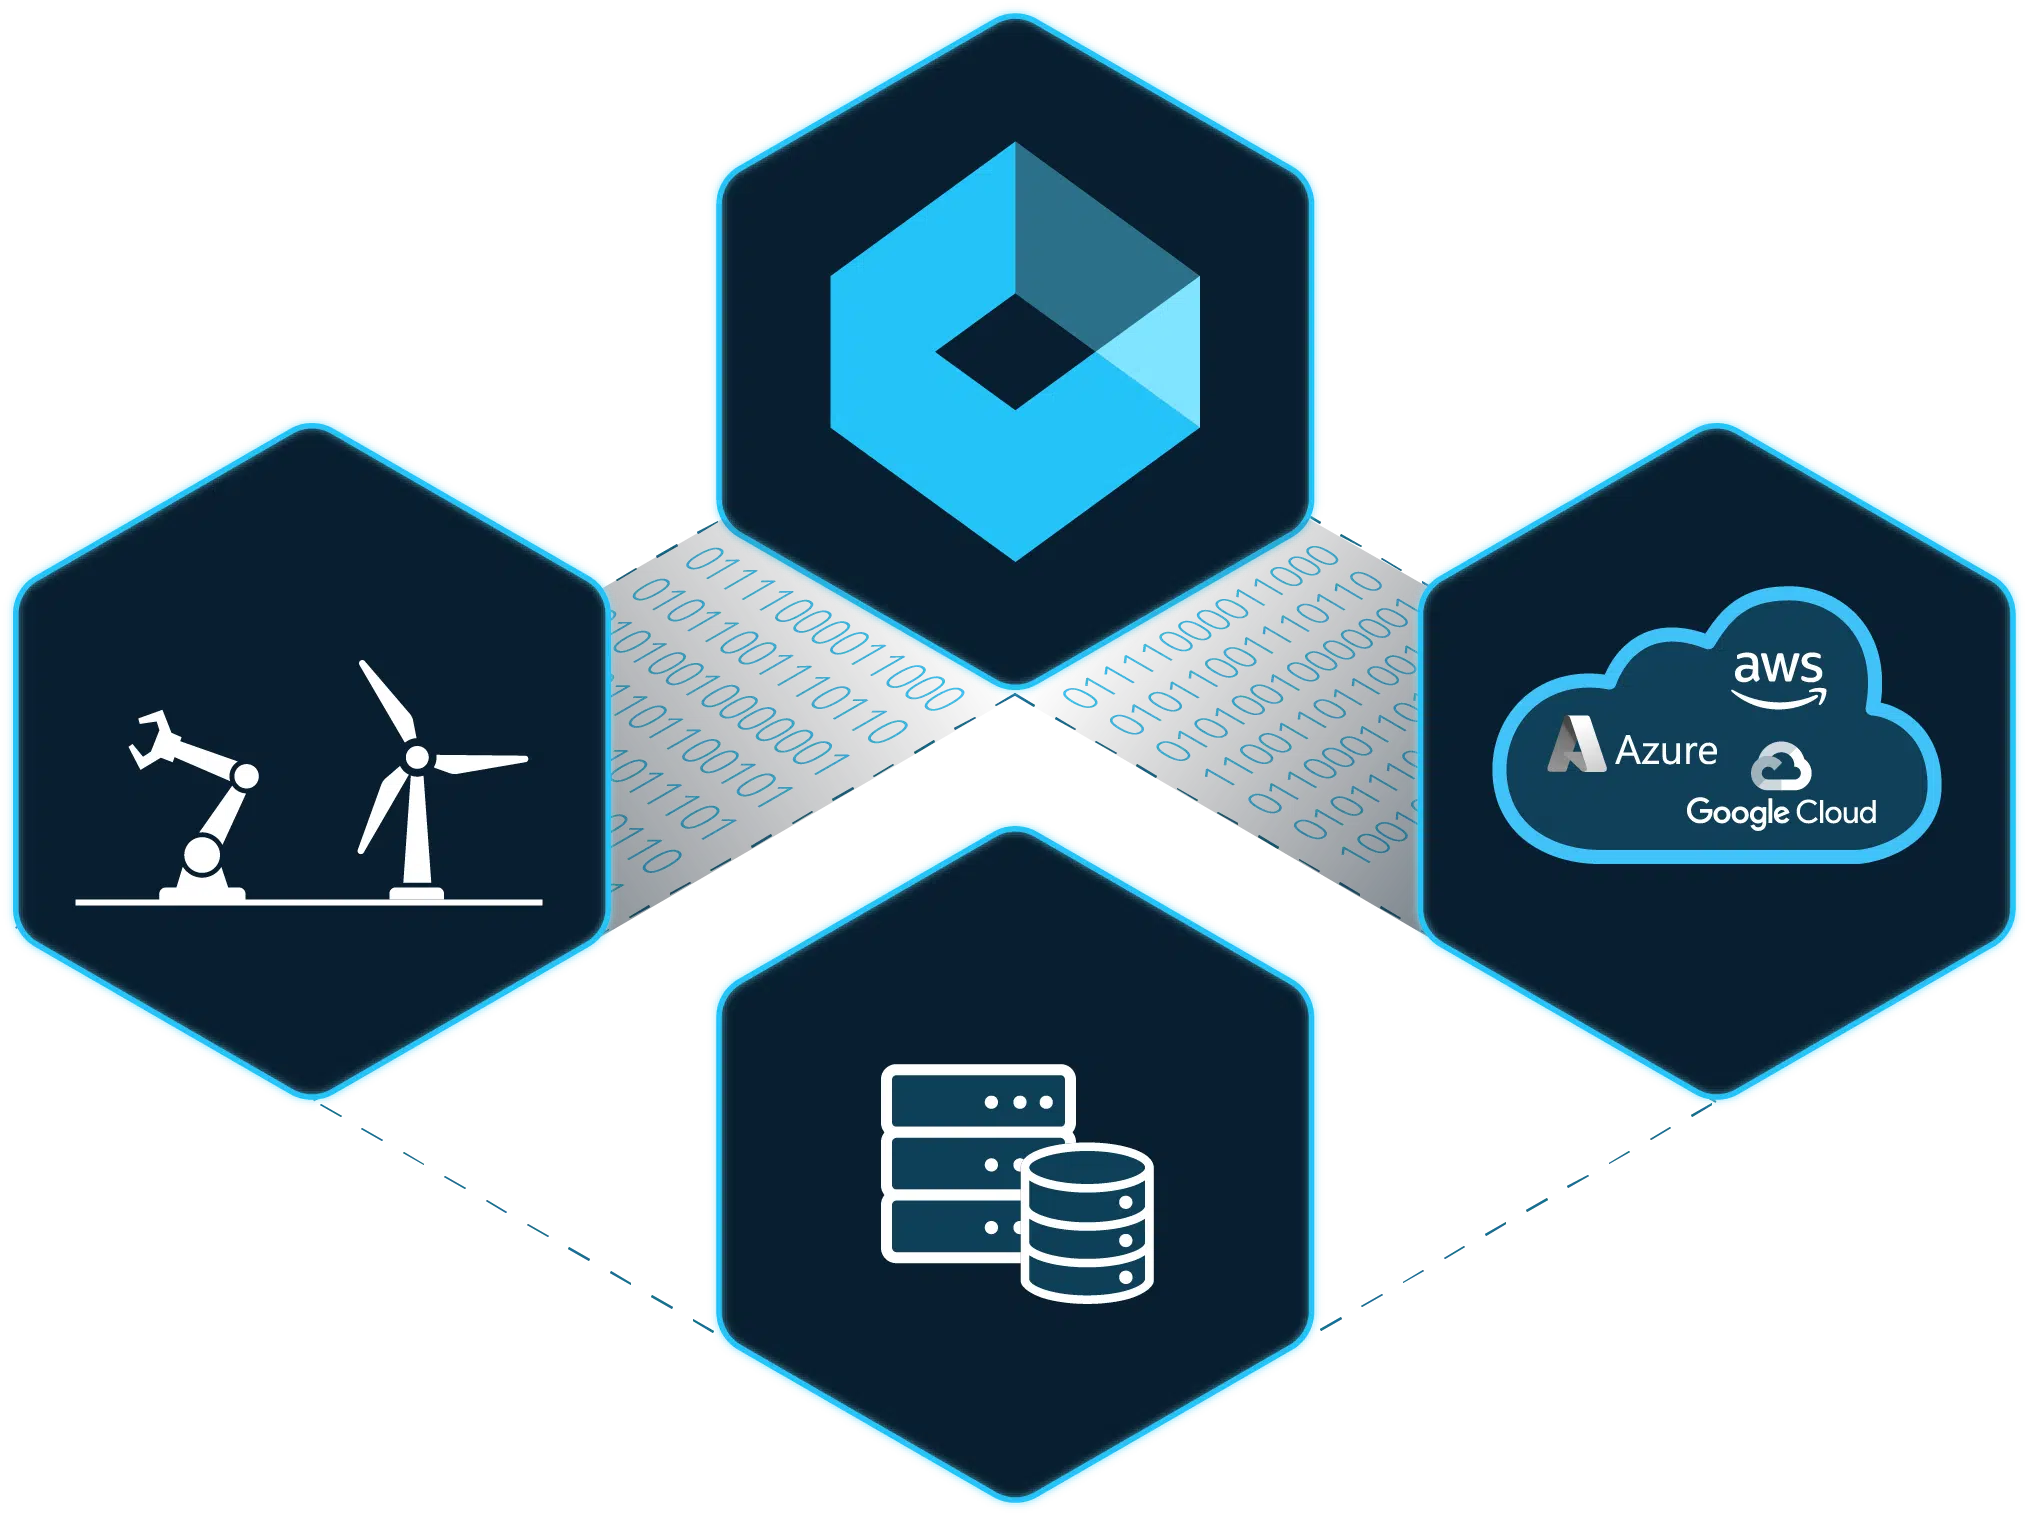
Xage Fabric Platform
Xage Security provides a suite of Zero Trust solutions that can be deployed independently or seamlessly integrated through the Xage Fabric Platform. Explore the Platform to discover how each solution works together to deliver comprehensive protection, eliminate legacy security solutions, and improve overall total cost of ownership.
Get More With the Complete Xage Platform
Comprehensive Accounts Discovery and Management
Enable automated accounts discovery and password rotation. Store all secrets and passwords in a quantum-proof and distributed password vault that can span across IT/OT/Cloud.
- Perform account operations such as account check-in/check-out, account reconciliation, password verification etc.
- Out-of-the box accounts discovery and password management plugins for Windows, Linux, Active Directory, config files, ESXi, PAN firewall, SQL server
- Extendable plugin architecture that can be used to write custom plugins to program and execute advanced automations and workflows
- Zero trust policy management between users and privileged accounts
Remote Privileged Access
Enable secure remote and local privileged access with granular, identity-based controls that prevent lateral movement, living-off-the-land attacks, and unauthorized privilege escalation. Xage eliminates the complexity of traditional PAM by replacing agent-based deployments, firewall rule management, VPNs, VLANs, ACLs, and other compensating controls with a unified Zero Trust approach.
- Enforce MFA, SSO, credential rotation, and least-privilege access for every resource
- Enable secure remote access to any device—without VPNs, agents, or client software
- Deliver just-in-time (JIT) access to reduce standing privileges and limit attack exposure
- Record and monitor privileged sessions for visibility, auditing, and compliance
- Simplify privileged access management for employees, third parties, vendors, and contractors
- Prevent lateral movement and living-off-the-land tactics with identity-based access controls
Achieve Layered Zero Trust Security
Xage’s multi-hop architecture allows for deployment in multi-layer networks eliminating the need to poke holes through firewalls and provides session and protocol termination at each layer.
- All accounts and policies are easily managed and enforced across the entire enterprise
- This includes any type of asset including IoT/OT devices that do not have credentials
- An MFA overlay is provided as an option at each layer and asset without added complexity or friction for the remote user
Prevent Cyberattacks
Defenders must adopt defensive strategies as dynamic as the threats they face to safeguard organizations effectively. Xage controls access to prevent privileged accounts and living off the land techniques from being weaponized against your enterprise.
- Enable user-to-machine and machine-to-machine access control to limit attack blast radius
- Secure file transfer between users and IT assets stops malware and ransomware from spreading
- Tighten security with just-in-time access, session monitoring, and more
Frequently Asked Questions
What is XPAM and how is it different from traditional PAM?
XPAM extends privileged access management beyond traditional accounts to semi-privileged users, OT assets, and machine identities. Unlike legacy PAM, Xage XPAM deploys without agents, works offline, and protects IT, OT, and cloud in a single platform.
Does Xage XPAM work on legacy OT assets and devices that cannot support agents?
Yes. Xage is agentless and works on legacy OT assets, including PLCs, RTUs, and HMIs that cannot support endpoint software. No network changes or rip-and-replace required.
How quickly can XPAM be deployed?
Xage can be deployed in as little as one day and provides protection immediately, before you have completed full account discovery and policy definition.
How does XPAM support NERC CIP, NIST 800-53, and DoD Zero Trust compliance?
Xage XPAM helps organizations enforce least privilege, move toward zero standing privileges, secure privileged sessions and credentials, maintain tamper-resistant audit trails, and require MFA for privileged access to critical assets—supporting core control requirements across NERC CIP, NIST SP 800-53, IEC 62443, and the DoD Zero Trust Strategy.
What does XPAM replace in my existing security stack?
Xage XPAM replaces legacy PAM tools, VPNs, jump servers, and standalone MFA solutions with a single unified platform. It also eliminates the need for separate OT access management tools.